
Tracking the Phases of a Major Kitchen Renovation
A major kitchen renovation is one of the most rewarding home improvement projects you can undertake, but it is also one of the most complex. In this article, you will discover the essential steps required to track and manage each stage of your kitchen renovation seamlessly.
Defining the Scope and Establishing the Budget
Every successful project begins long before any sledgehammers hit the drywall. The initial phase centers on defining what you want to achieve and determining how much you are willing to spend. Start by evaluating how your current layout serves your daily routine. Determine whether you need a complete overhaul or if a cosmetic update with new cabinetry and modern appliances will suffice.
Once your goals are clear, set a realistic financial plan. Allocate funds for major line items, including cabinetry, countertops, labor, flooring, and appliances. It is critical to build a contingency buffer of 15% to 20% into your budget. Unforeseen issues, such as outdated wiring hidden behind walls or subfloor water damage, frequently arise during a comprehensive kitchen remodel. Having financial wiggle room ensures these surprises do not stall your progress.
Gathering the Team and Finalizing the Design
With a budget in hand, the next step involves partnering with a full-service renovation team equipped to handle every aspect of your project. Working with a dedicated design-build company means you do not have to source individual trade professionals or manage separate contracts.
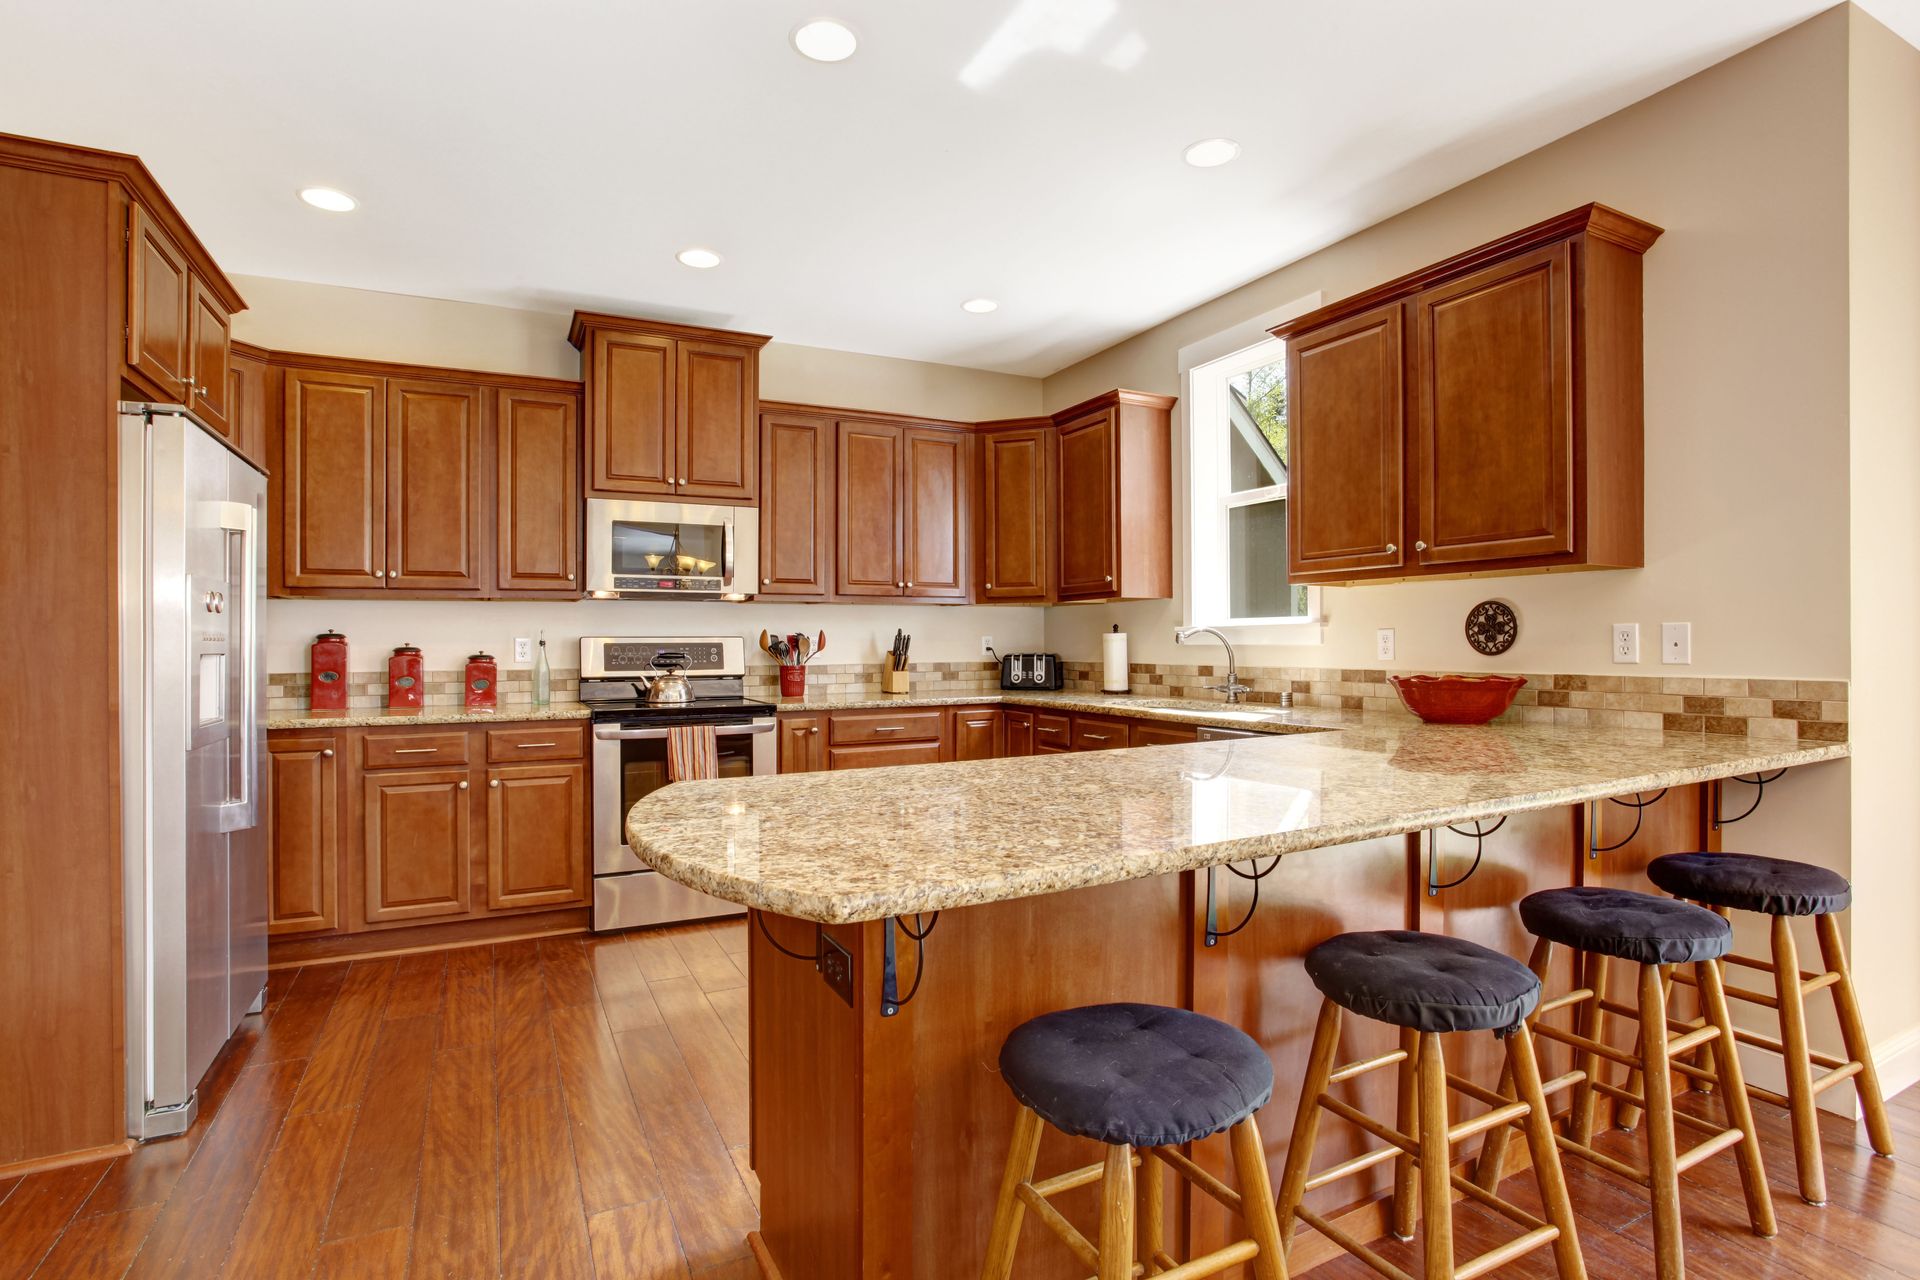
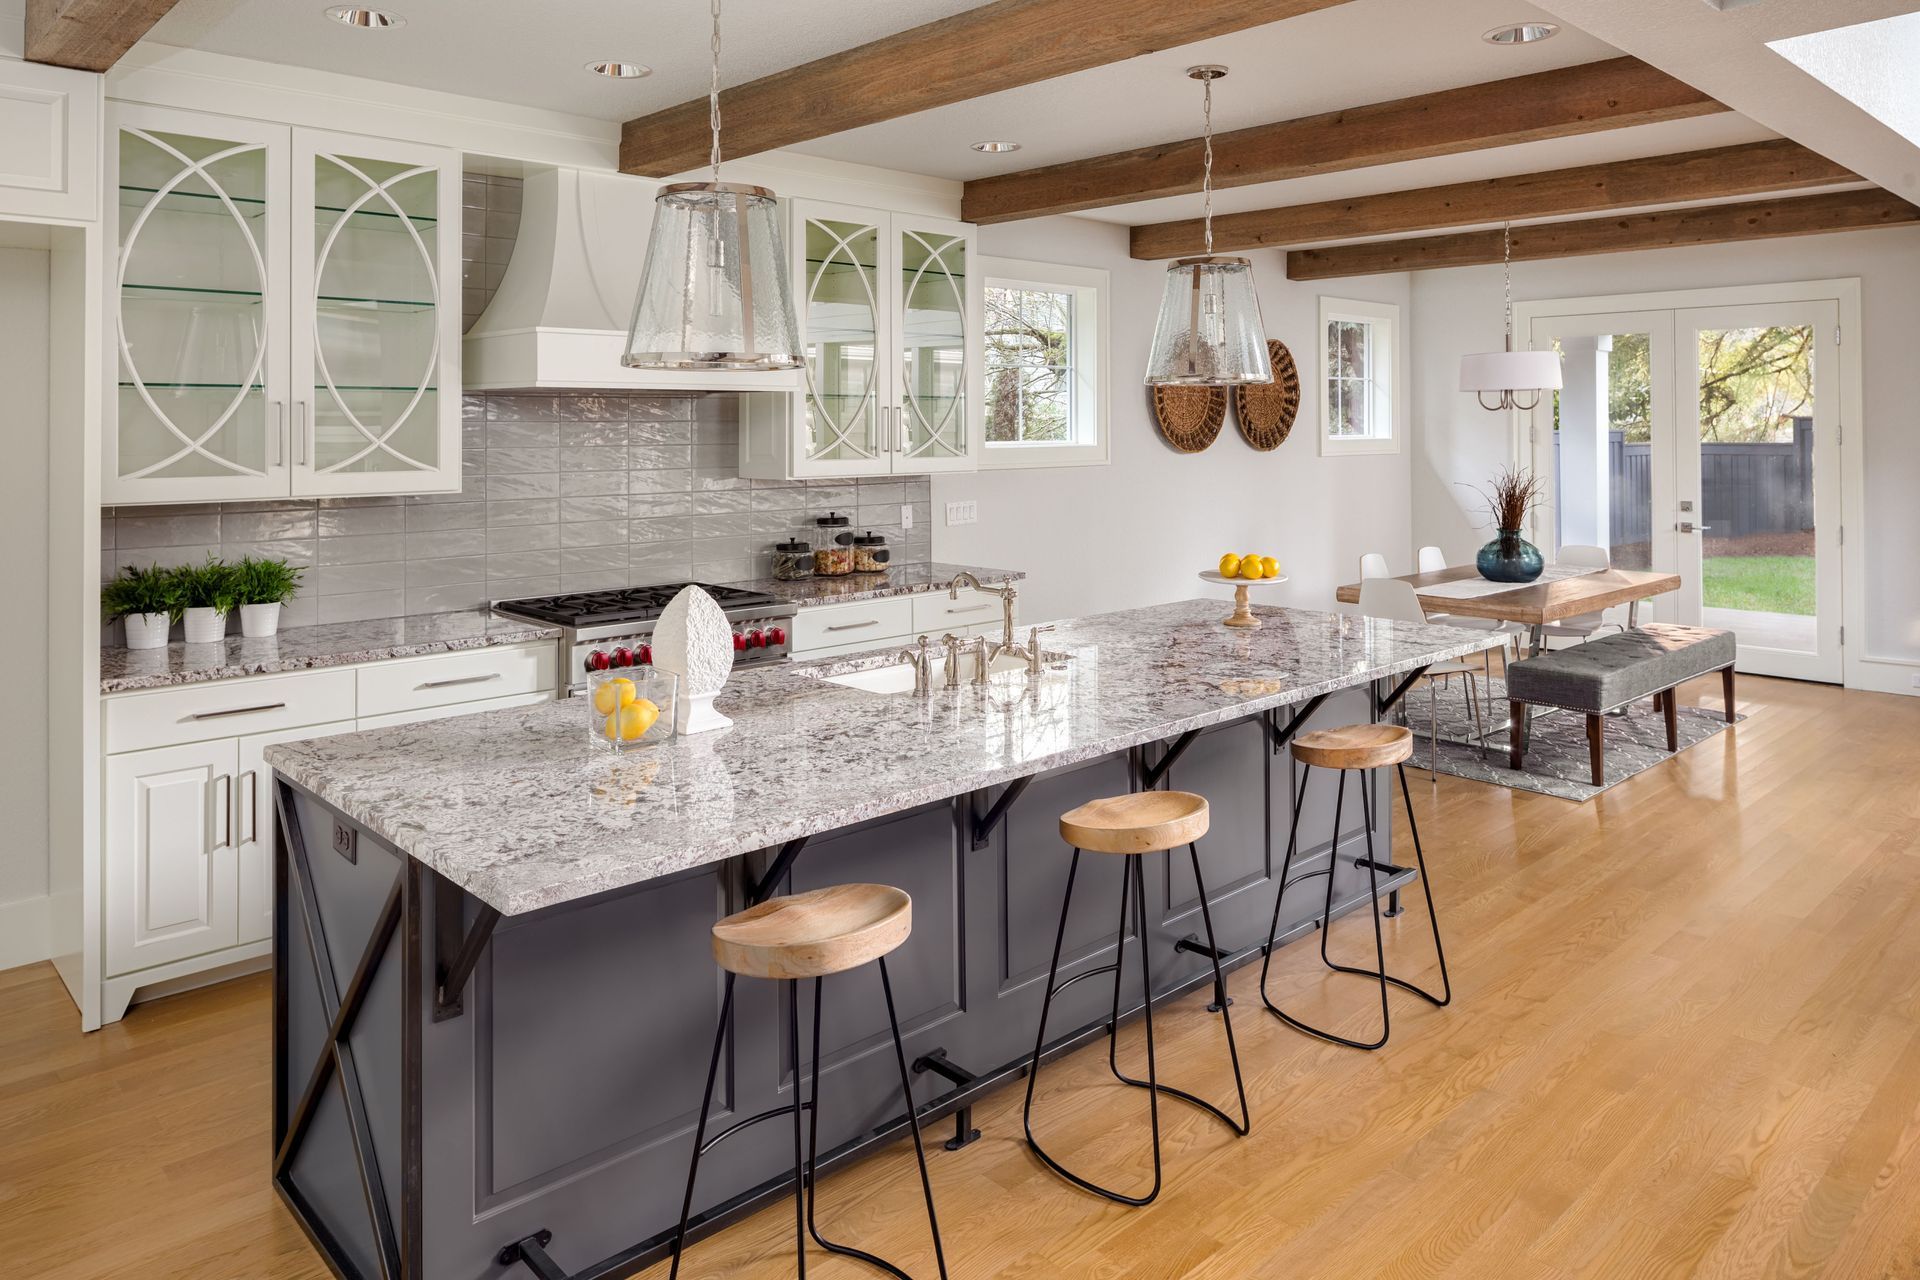
Collaborating with our team to finalize the design is where your vision truly comes to life. Together, we will select premium materials, refine floor plans, and select layout configurations that maximize both function and style. Deciding on details like cabinet door styles, quartz or granite countertops, custom backsplashes, and architectural lighting early prevents unexpected change orders down the road. Finalizing these detailed blueprints upfront allows us to lock in material pricing, secure supplies, and establish a seamless construction schedule for your kitchen remodel.
Securing the Permits and Ordering Materials
Before physical work begins, two administrative tasks require your attention: obtaining building permits and ordering project materials. Permitting requirements vary by municipality, but most major renovations involving plumbing modifications, electrical upgrades, or structural changes require official permits.
Simultaneously, make sure orders are placed for all long-lead items. Custom cabinetry, specialized tile, imported stone countertops, and high-end appliances often take several weeks or even months to arrive. Ordering these products early prevents project halts caused by shipping delays. Create a dedicated tracking spreadsheet to monitor order dates, estimated delivery schedules, and receipt confirmation for every item associated with your kitchen remodel.
Prepping the Space and Demolishing the Layout
As construction day approaches, preparing your home for the upcoming dust and disruption is essential. Set up a temporary cooking station in an adjacent room equipped with a microwave, toaster oven, mini-fridge, and paper products. Pack away all cookware, dishes, and pantry items, labeling boxes clearly so you can locate necessities easily while your main cooking space is out of commission.
Once the area is cleared, the demolition phase officially begins. Construction crews strip out old cabinetry, tear up existing flooring, remove outdated appliances, and open up walls as required by the design plan. Demolition is fast-paced and loud, but it exposes the structural framing of your home, allowing contractors to inspect the underlying conditions before built-in elements are installed.
Executing the Rough-In Electrical and Plumbing Work
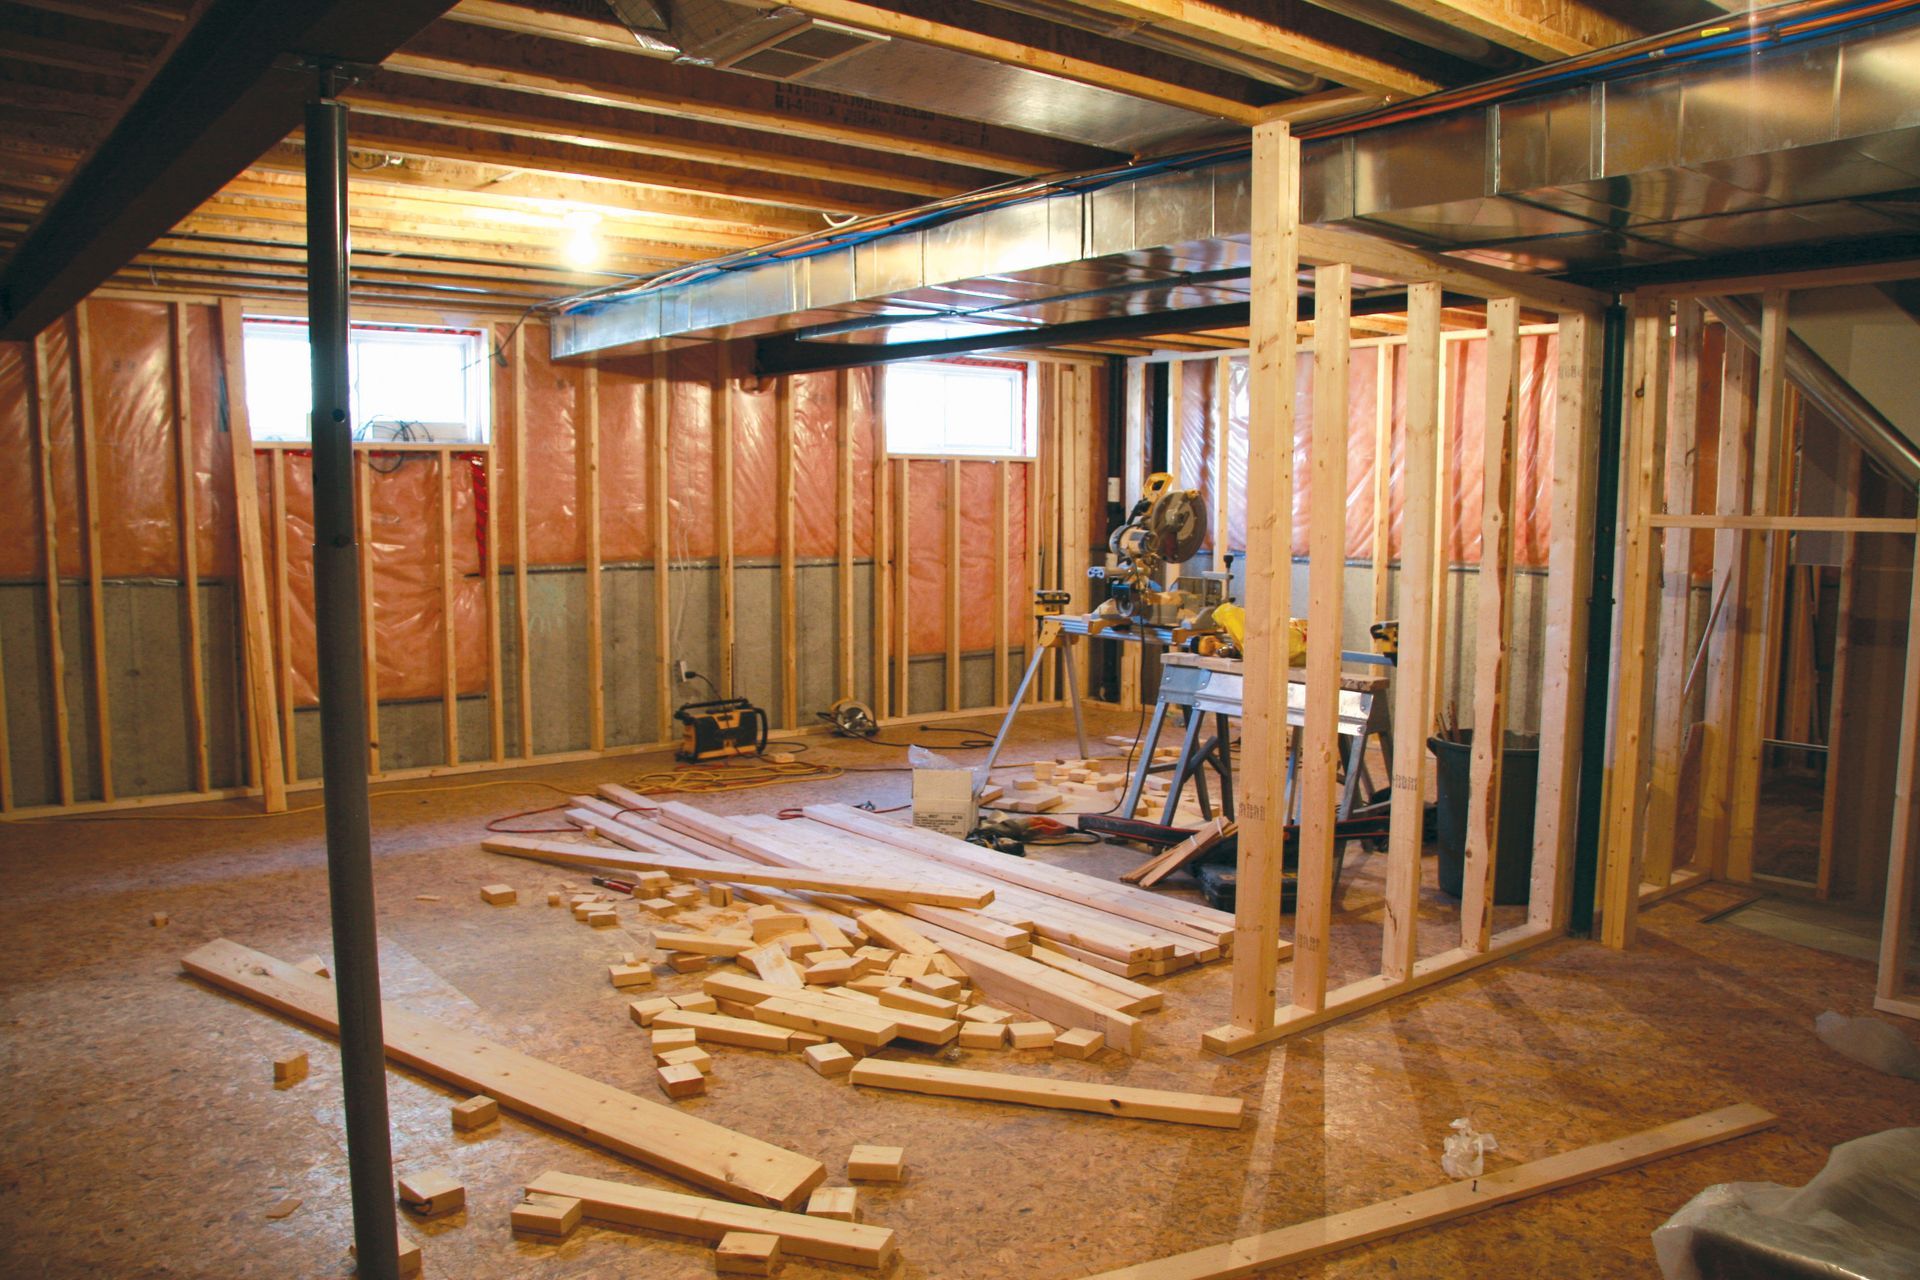
After the space is gutted down to the studs, specialized tradespeople step in to execute the rough-in work. Electricians, plumbers, and HVAC technicians install the internal infrastructure that powers your new layout. Plumbers relocate supply lines and drains for sinks, dishwashers, and ice makers. Electricians run fresh wiring for task lighting, ambient fixtures, dedicated appliance circuits, and conveniently located outlets.
This phase requires careful monitoring because structural alignment is critical. Verify that light switches, outlets, and plumbing stub-outs match your approved architectural drawings. Before the walls are closed back up with drywall, municipal inspectors will visit your home to sign off on the mechanical installations. Passing these inspections guarantees that your home's infrastructure meets strict safety standards.
Installing the Insulation and Closing the Drywall
With the internal mechanics inspected and approved, the room is prepared for surface finishes. Insulation is added or upgraded in exterior walls to improve your home's thermal efficiency and soundproofing. Following insulation, trade workers hang, tape, sand, and finish new drywall panels across the walls and ceiling.
Drywall installation generates significant dust, so ensure your contractor seals off adjacent living areas with plastic sheeting and negative-pressure fans. Once the walls are smooth, primed, and painted with a base coat, the physical footprint of your new layout becomes tangible. This stage bridges the gap between rough construction and decorative finishing work, laying a smooth canvas for your chosen aesthetics.
Placing the Cabinetry and Measuring the Countertops
Cabinet installation marks a dramatic turning point in your project. Because cabinets dictate the spatial flow and storage capacity of the room, precise leveling and mounting are critical. Professional installers anchor upper and lower units securely to wall studs, ensuring square alignments across all runs.
Once the base cabinets are permanently anchored in place, the countertop fabricators visit the site to take precise measurements or create physical templates. Because custom stone or quartz surfaces must be cut exactly to fit your specific cabinet layout, this templating process cannot happen beforehand. Countertop fabrication typically takes one to three weeks, making this a great window to track remaining material deliveries for your kitchen remodel.
Laying the Flooring and Fitting the Countertops
Depending on the material chosen, flooring installation can occur either before cabinet setup or right after. Hardwood flooring is often installed wall-to-wall before cabinets are set, whereas floating vinyl plank or delicate tile is frequently installed up to the cabinet edges to prevent material damage. Ensure your installer uses protective floor coverings immediately after installation to safeguard the new surface from heavy foot traffic.
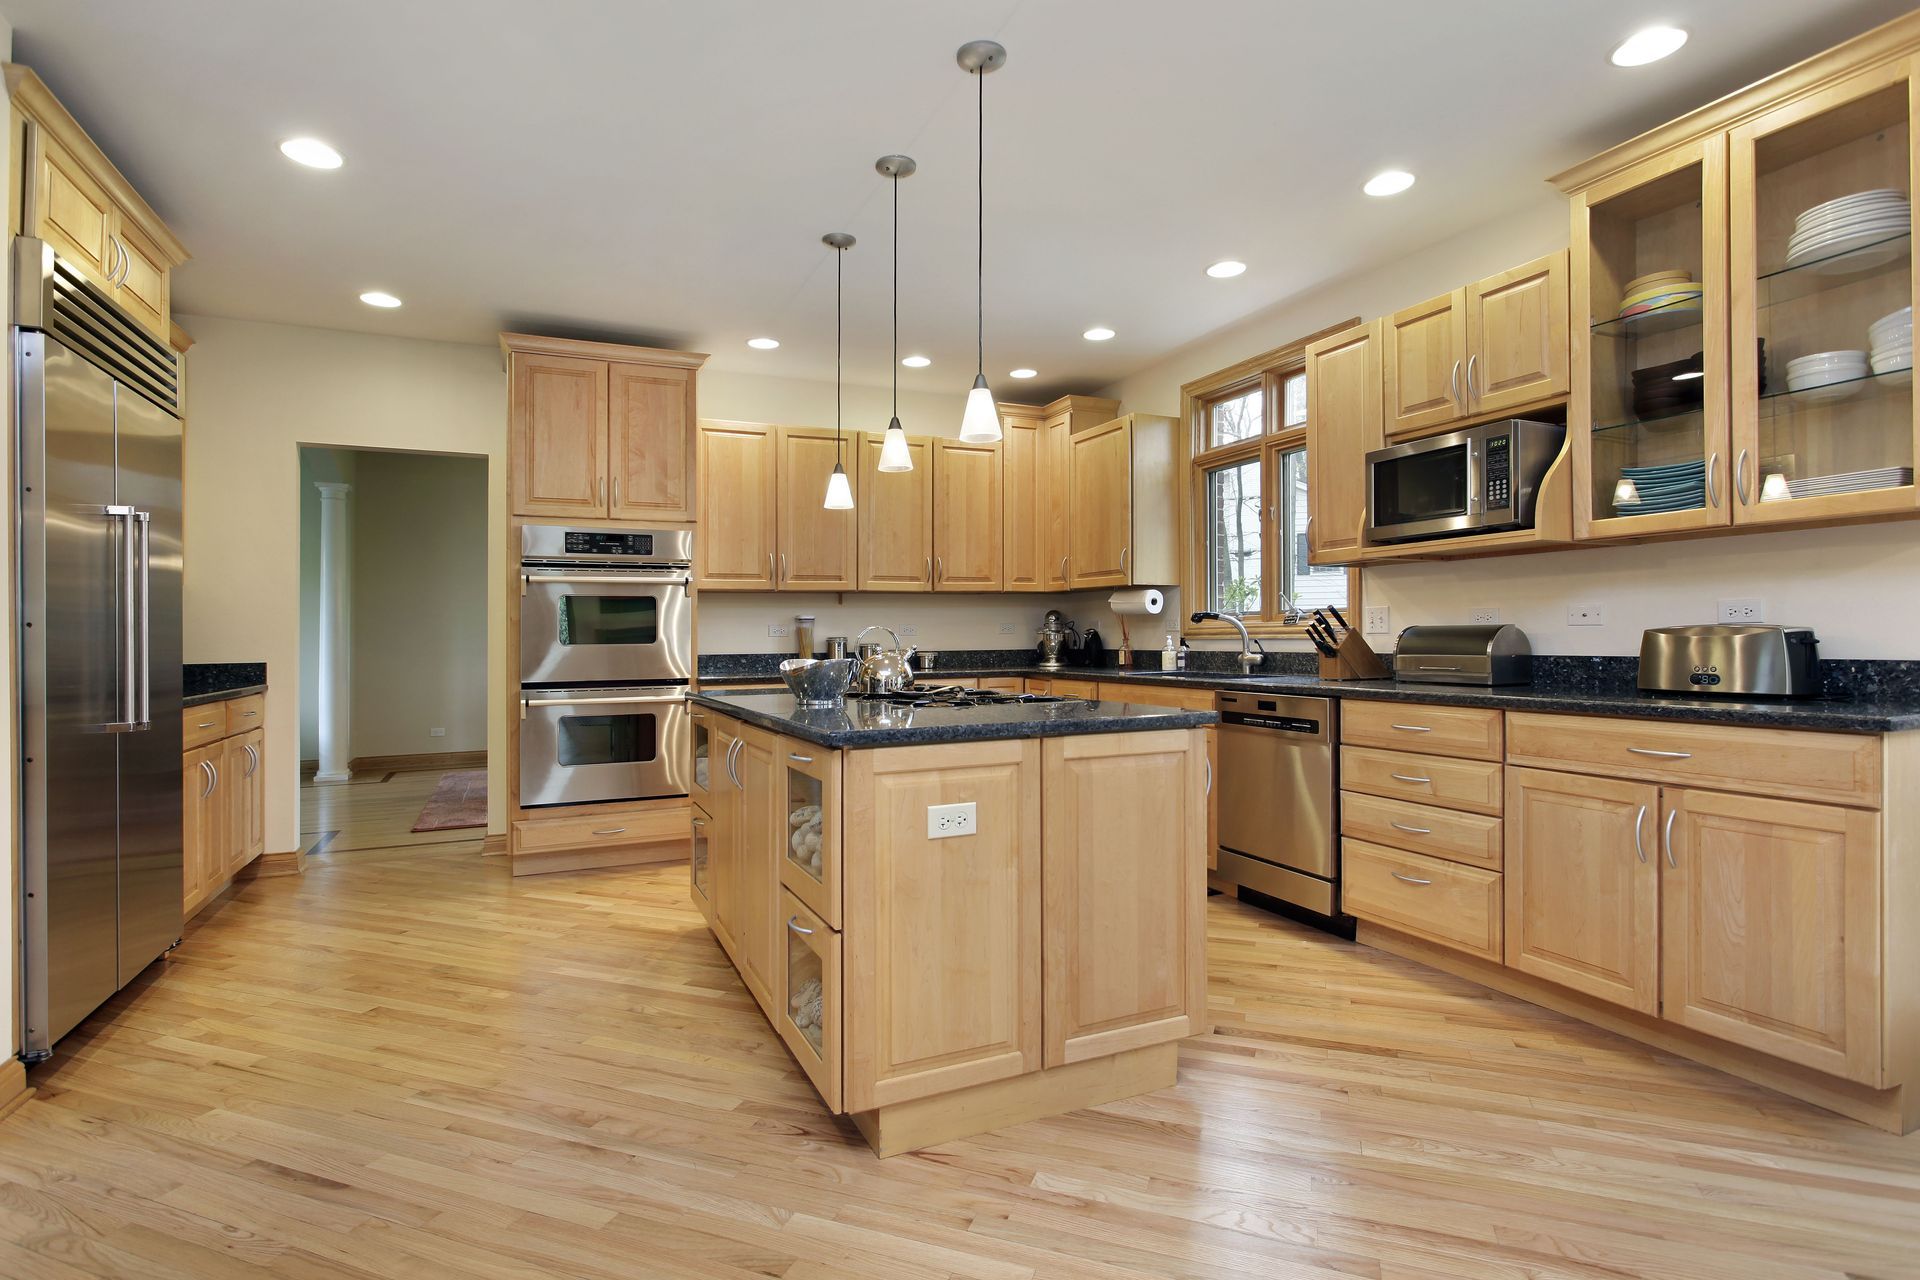
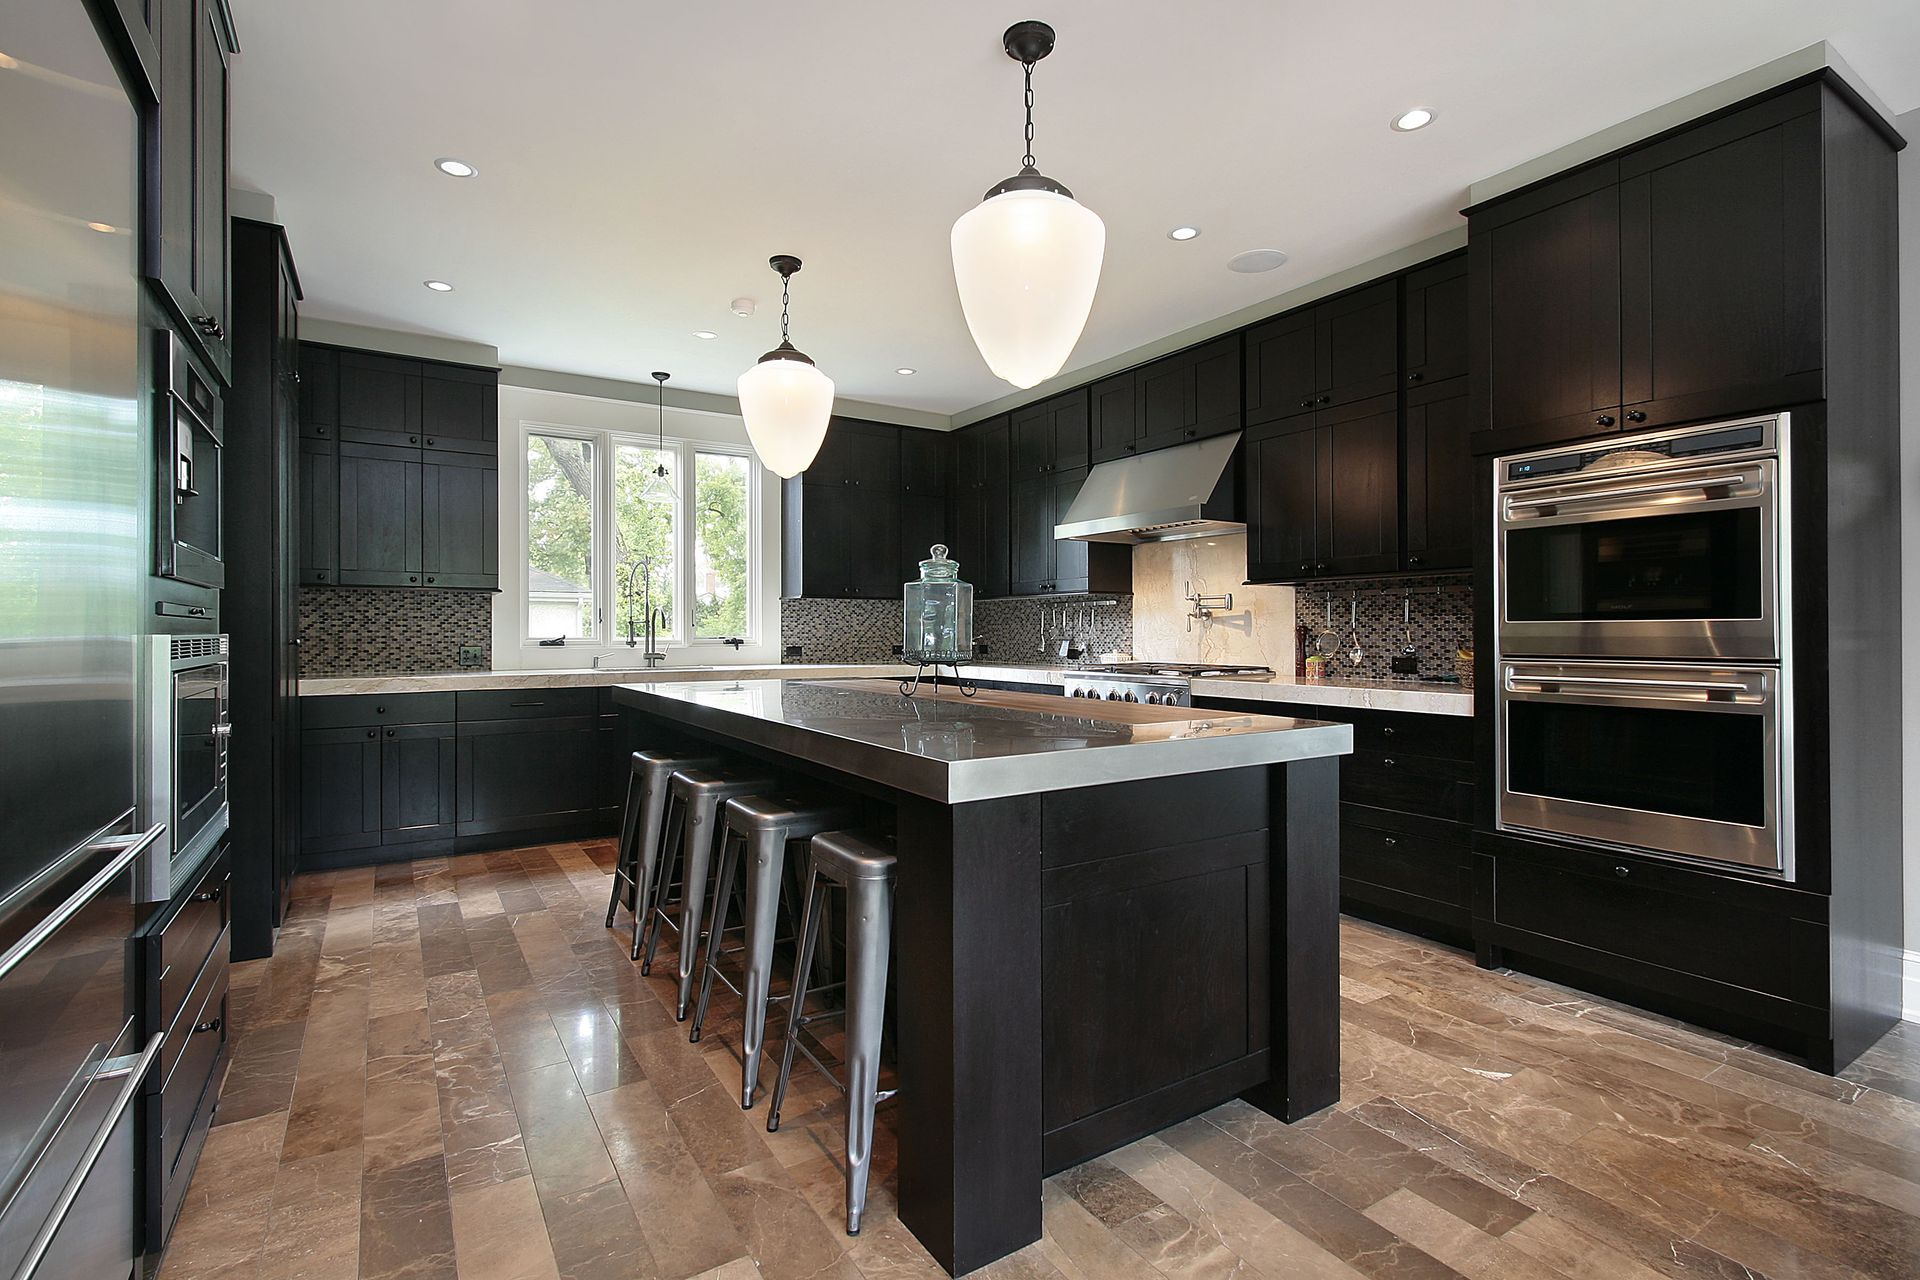
Shortly after floor preparation, the fabricated countertops arrive for installation. Installers set the heavy slabs, seam joints using color-matched epoxy, and cut openings for undermount sinks or cooktops. Seeing the countertops installed alongside your new cabinetry offers the first true glimpse of your completed vision.
Mounting the Appliances and Finishing the Backsplash
With major surfaces in place, the project moves toward its final stretch. Electricians and plumbers return to set up sink basins, connect faucets, install garbage disposals, and wire in heavy appliances. Range hoods, built-in ovens, cooktops, and dishwashers are fitted precisely into their designated openings and calibrated for safe operation.
Concurrently, tile setters begin installing the wall backsplash. The backsplash serves as both a functional barrier against moisture and a central aesthetic feature of your kitchen remodel. Installers lay tile patterns, apply grout, and seal edges along the countertop boundary. At this stage, ornamental detail work like crown molding, trim casing, and cabinet hardware is also attached.
Conducting the Final Punch List and Sign-Off
The final construction phase involves drafting a punch list—a comprehensive record of minor fixes, touch-ups, and adjustments needed before concluding the project. Walk through the space with your general contractor to inspect cabinet door alignments, paint touch-ups, caulk lines, outlet functionality, and plumbing connections.
According to Home Advisor, a
kitchen remodel takes six to 10 weeks for the construction phase, though complex structural changes or custom materials can extend that timeline. Remaining patient during the final detail stage ensures high-quality craftsmanship.
Are you ready to transform your culinary space into a functional, beautiful hub tailored to your lifestyle? Contact our team of experienced design and construction experts today to schedule your initial consultation and turn your dream layout into reality!




Share On: